#
Website PWA
PWA along with offline support is supported in this. There are 2 major components here
- Service Worker
- manifest.json
#
Service Worker
A SW is file is required for PWA to initialize. We have a PWA file in pwa/service-worker.js. What does it do?
- Caches all the static files
- Caches the offline page (can be found here:
public/html/offline.html). Also adds a strategy to show the same HTML file when there's no network.
Note: Whenever you make a change in offline.html, make sure to update the VERSION variable stored in pwa/service-worker.js. Else users will keep seeing an outdated offline page.
Also note PWA is disabled on local ENVs
locallocalproduction
A minified SW file is created while building the project using pwa/service-worker.js as a source file.
#
Manifest
We don't have a static manifest JSON file, because we want values such as theme color, name, summary, etc... to be fetched from config or theme file. Don't want to hardcode here. These values should be defined only once in their config files.
We have a script which fetches values from config files and prepares a manifest.json under public/json directory. Before preparing the file, let's first go step-by-step and update the current config for your needs.
#
Basic Information
Config defined in appConfig.ts will be used as manifest's basic information. So this is covered.
#
Logos
Let's discuss how to add your PWA icons...
We'll use a third-party online tool for this.
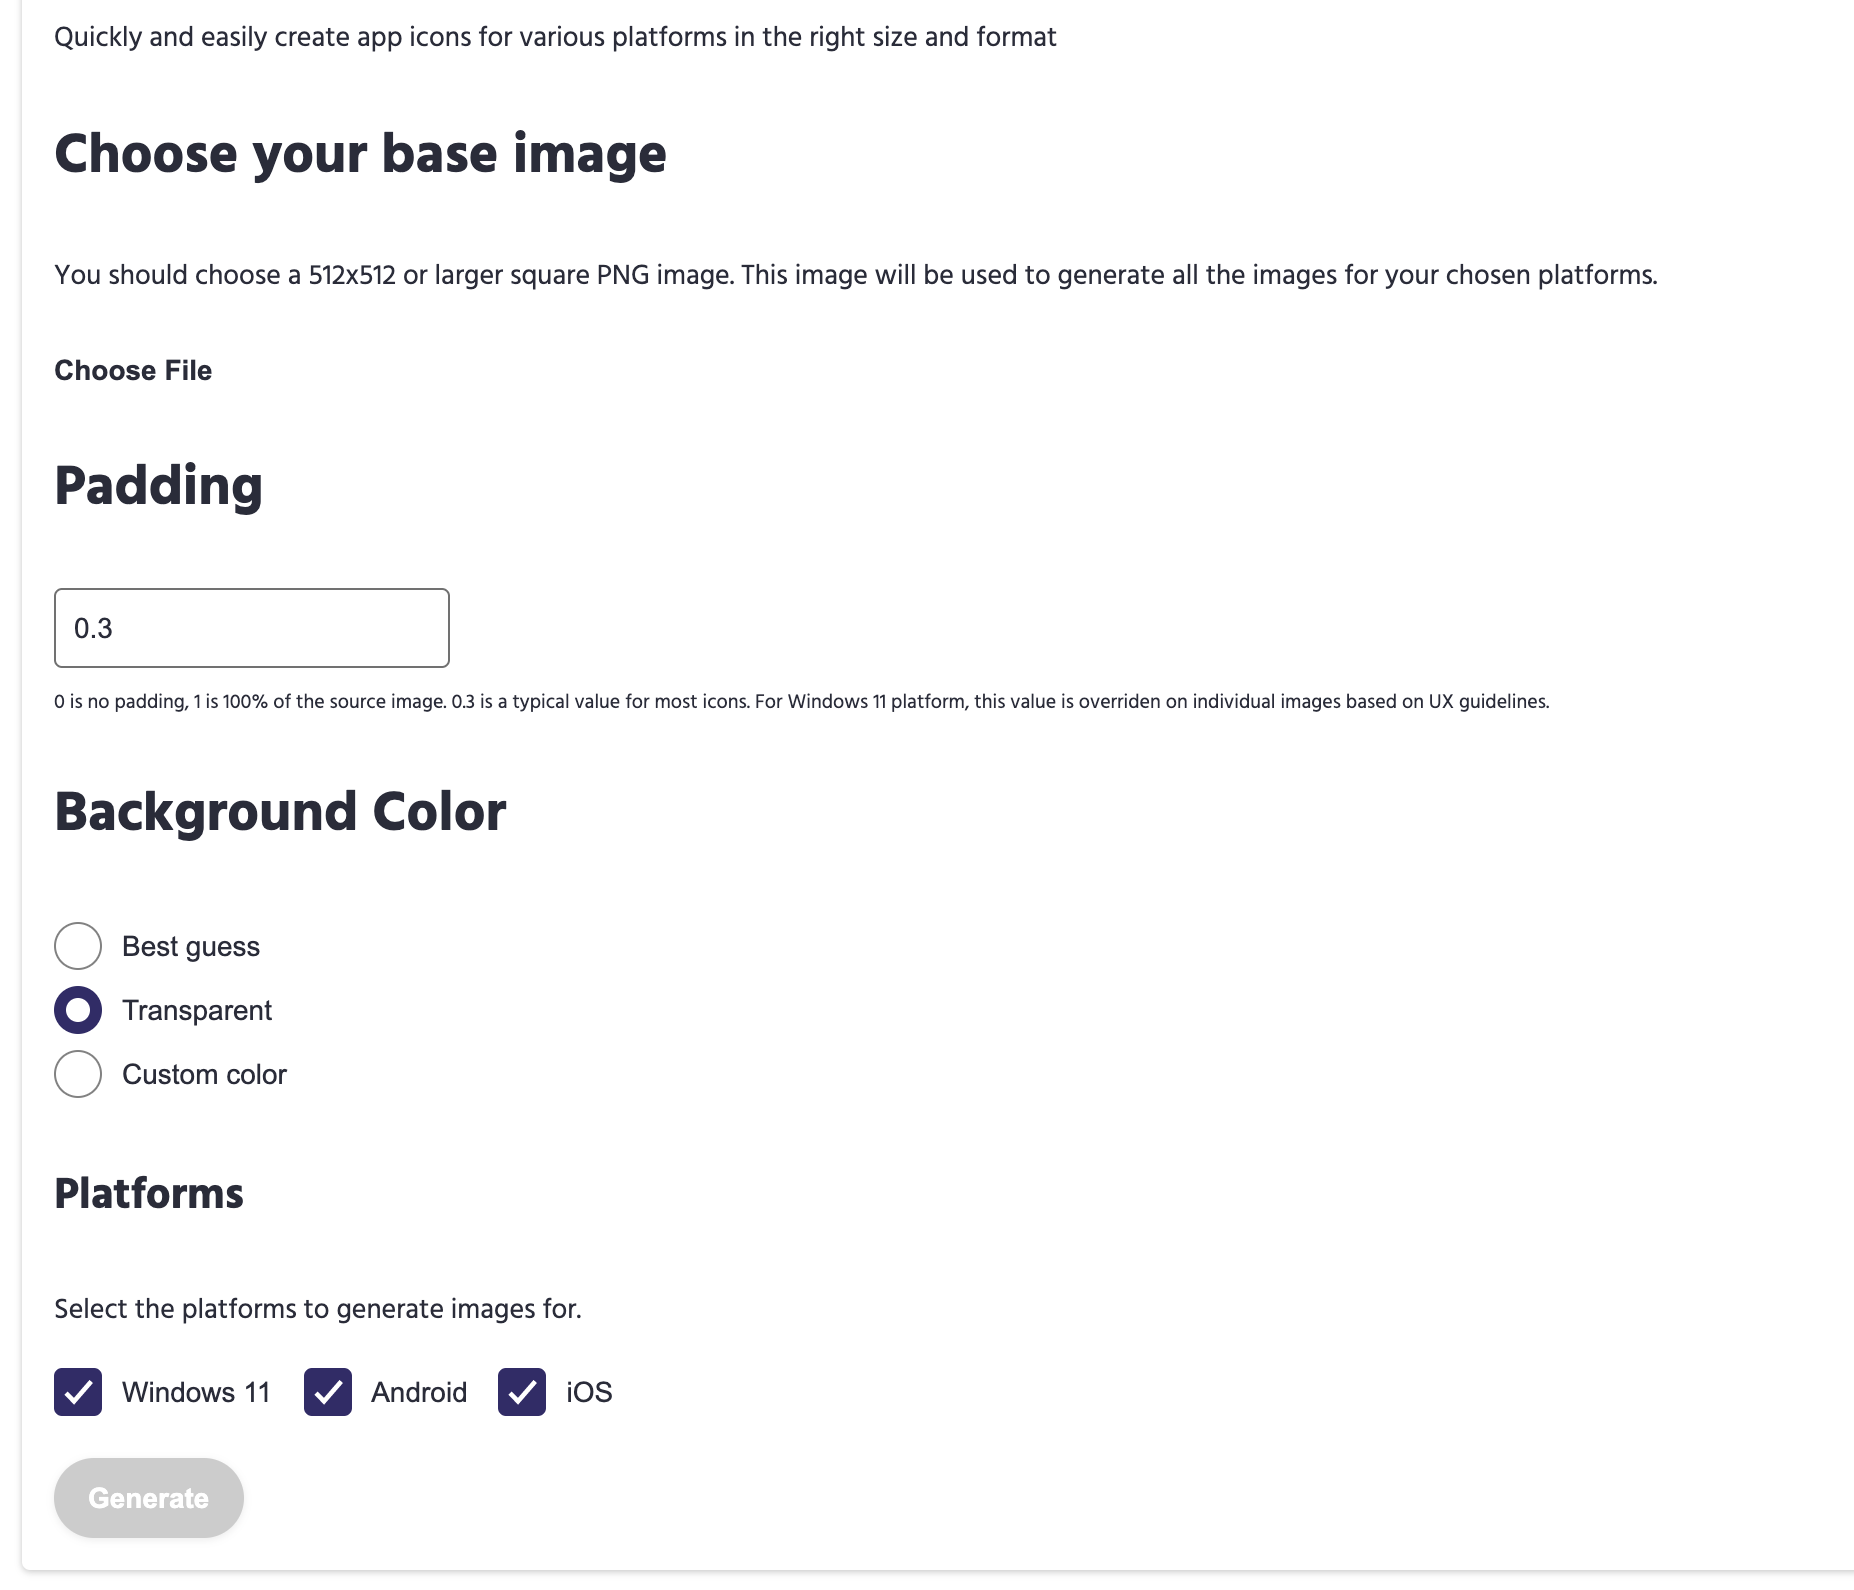
- Go to pwabuilder.com
- Upload your logo, update settings (if required) and download the generated zip file. Settings I used:
- Move contents of the downloaded folder except
icons.jsonto our logos folder (public/images/logos/). - Copy everything of
icons.jsonand paste inpublic/json/manifest-icons.jsonfile. - Now we need to update the
srcproperty of each icon inmanifest-icons.jsonfile. Add/images/logos/at the beginning. For eg.
- windows10/SmallTile.scale-100.png
+ /images/logos/windows10/SmallTile.scale-100.png
In the end, an icon object should look something like this...
{
  "src": "/images/logos/windows10/SmallTile.scale-100.png",
  "sizes": "71x71"
}- You're all set now for logos.
#
Favicons
Let's discuss how to add your favicons using a third-party online tool.
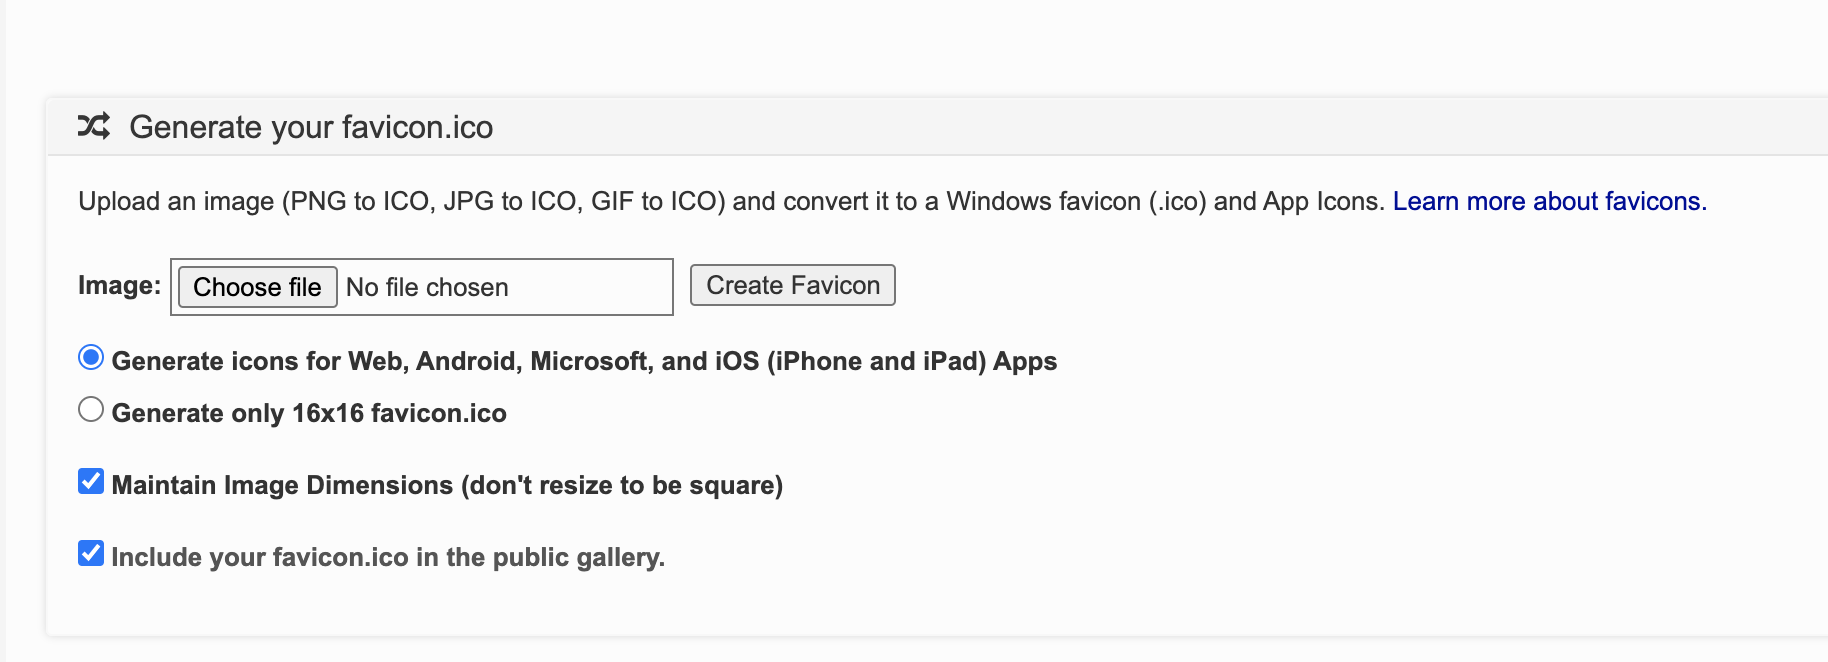
- Go to favicon-generator.org
- Upload your logo and update settings (if required). Settings I used:
- Once processed, you'll be prompted with 2 resources:
- A zip file with all the required favicons.
- A code snippet.
- Move all the contents of the downloaded file to
public/images/logosfolder. Note: Only move image files. - Copy the code snippet. Only copy the line which has
+marked against it.
+ <link rel="apple-touch-icon" sizes="57x57" href="/apple-icon-57x57.png">
+ <link rel="apple-touch-icon" sizes="60x60" href="/apple-icon-60x60.png">
+ <link rel="apple-touch-icon" sizes="72x72" href="/apple-icon-72x72.png">
+ <link rel="apple-touch-icon" sizes="76x76" href="/apple-icon-76x76.png">
+ <link rel="apple-touch-icon" sizes="114x114" href="/apple-icon-114x114.png">
+ <link rel="apple-touch-icon" sizes="120x120" href="/apple-icon-120x120.png">
+ <link rel="apple-touch-icon" sizes="144x144" href="/apple-icon-144x144.png">
+ <link rel="apple-touch-icon" sizes="152x152" href="/apple-icon-152x152.png">
+ <link rel="apple-touch-icon" sizes="180x180" href="/apple-icon-180x180.png">
+ <link rel="icon" type="image/png" sizes="192x192"  href="/android-icon-192x192.png">
+ <link rel="icon" type="image/png" sizes="32x32" href="/favicon-32x32.png">
+ <link rel="icon" type="image/png" sizes="96x96" href="/favicon-96x96.png">
+ <link rel="icon" type="image/png" sizes="16x16" href="/favicon-16x16.png">
- <link rel="manifest" href="/manifest.json">
- <meta name="msapplication-TileColor" content="#ffffff">
+ <meta name="msapplication-TileImage" content="/ms-icon-144x144.png">
- <meta name="theme-color" content="#ffffff">- Now navigate to
scriptTemplates/meta.tsx, you will find a function there namedAppIcons. Paste the copied snippet. The function will now look something like this...
const AppIcons: React.FC = () => {
  return (
    <>
      <link rel="apple-touch-icon" sizes="57x57" href="/apple-icon-57x57.png">
      <link rel="apple-touch-icon" sizes="60x60" href="/apple-icon-60x60.png">
      <link rel="apple-touch-icon" sizes="72x72" href="/apple-icon-72x72.png">
      <link rel="apple-touch-icon" sizes="76x76" href="/apple-icon-76x76.png">
      <link rel="apple-touch-icon" sizes="114x114" href="/apple-icon-114x114.png">
      <link rel="apple-touch-icon" sizes="120x120" href="/apple-icon-120x120.png">
      <link rel="apple-touch-icon" sizes="144x144" href="/apple-icon-144x144.png">
      <link rel="apple-touch-icon" sizes="152x152" href="/apple-icon-152x152.png">
      <link rel="apple-touch-icon" sizes="180x180" href="/apple-icon-180x180.png">
      <link rel="icon" type="image/png" sizes="192x192"  href="/android-icon-192x192.png">
      <link rel="icon" type="image/png" sizes="32x32" href="/favicon-32x32.png">
      <link rel="icon" type="image/png" sizes="96x96" href="/favicon-96x96.png">
      <link rel="icon" type="image/png" sizes="16x16" href="/favicon-16x16.png">
      <meta name="msapplication-TileImage" content="/ms-icon-144x144.png">
    </>
  )
}- At last, we need to update
hrefattribute of each line. Observe the following diff...
- <link rel="apple-touch-icon" sizes="57x57" href="/apple-icon-57x57.png">
+ <link rel="apple-touch-icon" sizes="57x57" href={prepareAssetUrl("/images/logos/apple-icon-57x57.png")} />
What did we do in this diff?
- Prefix href with
/images/logos - Wrap the entire href value with
prepareAssetUrlmethod. - Properly close the tag for JSX. Replaced
>with/>.
#
Splashscreens
We'll use a third-party online tool here as well.
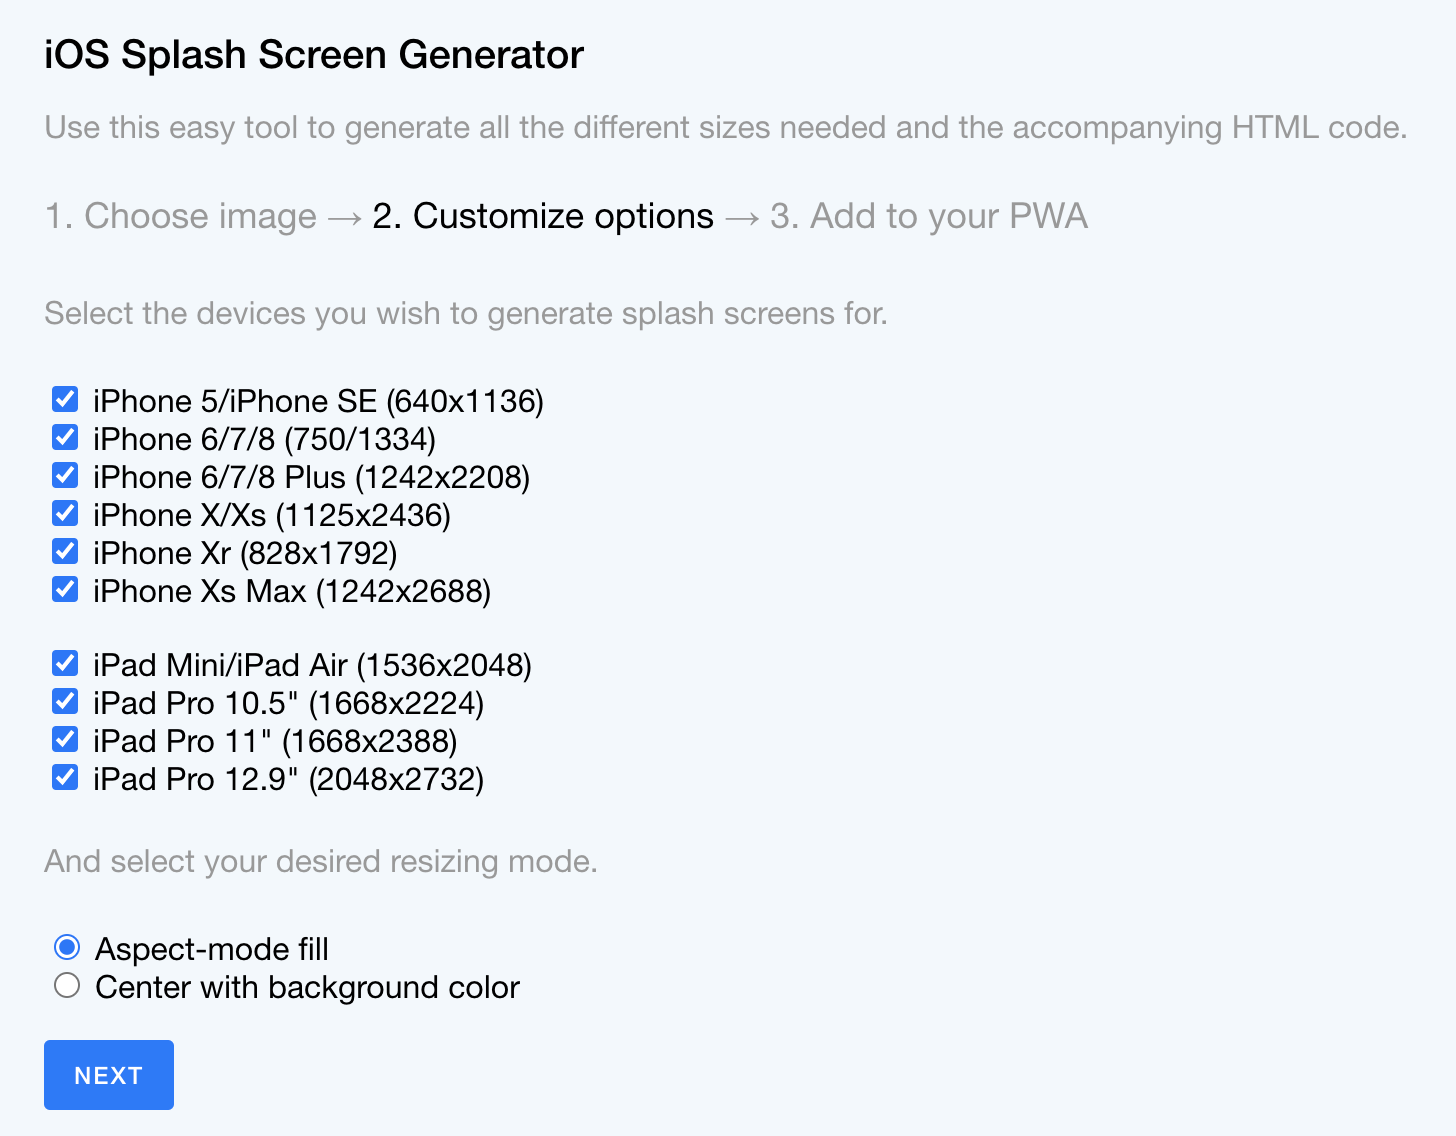
- Goto appsco.pe
- Upload your screen, and update settings (if required). Settings I used:
- Download the zip and move contents to
public/images/splashscreensfolder. - Copy the provided code snippet.
- Navigate to
scriptTemplates/meta.tsx, you will find a function there namedAppSplashScreens. Paste the copied snippet. The function will now look something like this...
const AppSplashScreens: React.FC = props => {
  return (
    <>
      <link href="splashscreens/iphone5_splash.png" media="(device-width: 320px) and (device-height: 568px) and (-webkit-device-pixel-ratio: 2)" rel="apple-touch-startup-image" />
      <link href="splashscreens/iphone6_splash.png" media="(device-width: 375px) and (device-height: 667px) and (-webkit-device-pixel-ratio: 2)" rel="apple-touch-startup-image" />
      <link href="splashscreens/iphoneplus_splash.png" media="(device-width: 621px) and (device-height: 1104px) and (-webkit-device-pixel-ratio: 3)" rel="apple-touch-startup-image" />
      <link href="splashscreens/iphonex_splash.png" media="(device-width: 375px) and (device-height: 812px) and (-webkit-device-pixel-ratio: 3)" rel="apple-touch-startup-image" />
      <link href="splashscreens/iphonexr_splash.png" media="(device-width: 414px) and (device-height: 896px) and (-webkit-device-pixel-ratio: 2)" rel="apple-touch-startup-image" />
      <link href="splashscreens/iphonexsmax_splash.png" media="(device-width: 414px) and (device-height: 896px) and (-webkit-device-pixel-ratio: 3)" rel="apple-touch-startup-image" />
      <link href="splashscreens/ipad_splash.png" media="(device-width: 768px) and (device-height: 1024px) and (-webkit-device-pixel-ratio: 2)" rel="apple-touch-startup-image" />
      <link href="splashscreens/ipadpro1_splash.png" media="(device-width: 834px) and (device-height: 1112px) and (-webkit-device-pixel-ratio: 2)" rel="apple-touch-startup-image" />
      <link href="splashscreens/ipadpro3_splash.png" media="(device-width: 834px) and (device-height: 1194px) and (-webkit-device-pixel-ratio: 2)" rel="apple-touch-startup-image" />
      <link href="splashscreens/ipadpro2_splash.png" media="(device-width: 1024px) and (device-height: 1366px) and (-webkit-device-pixel-ratio: 2)" rel="apple-touch-startup-image" />
    </>
  )
}- At last, we need to update
hrefattribute of each line. Observe the following diff...
- <link href="splashscreens/iphone5_splash.png" media="(device-width: 320px) and (device-height: 568px) and (-webkit-device-pixel-ratio: 2)" rel="apple-touch-startup-image" />
+ <link href={prepareAssetUrl("/images/splashscreens/iphone5_splash.png")} media="(device-width: 320px) and (device-height: 568px) and (-webkit-device-pixel-ratio: 2)" rel="apple-touch-startup-image" />
What did we do in this diff?
- Prefix href with
/images - Wrap the entire href value with
prepareAssetUrlmethod.
#
Screenshots
You can also show screenshots to the user when they try to install the PWA. Here's how you can add your own:
- Put your screenshots under
public/images/screenshotsfolder. - Not define your screenshots in
public/json/manifest-screenshots.jsonfile. Eg.
{
  "src": "/images/screenshots/screenshot-1.png",
  "type": "image/png",
  "sizes": "750x1364"
},
You need to specify
- screenshot location source
- type of the image
- image size
Eventually the file should look something like this:
{
  "screenshots": [
    {
      "src": "/images/screenshots/screenshot-1.png",
      "type": "image/png",
      "sizes": "750x1364"
    }
  ]
}
You can add multiple screenshots.
#
Generate manifest.json
Now let's finally generate a manifest file for testing.
STORE_WEB_ENV=local npm run script:generate-manifestNote: Manifest file will be automatically generated whenever you
- run the server locally for development
- build the project
Also note that the public/json/manifest.json file ignore by Git since it will generated automatically.